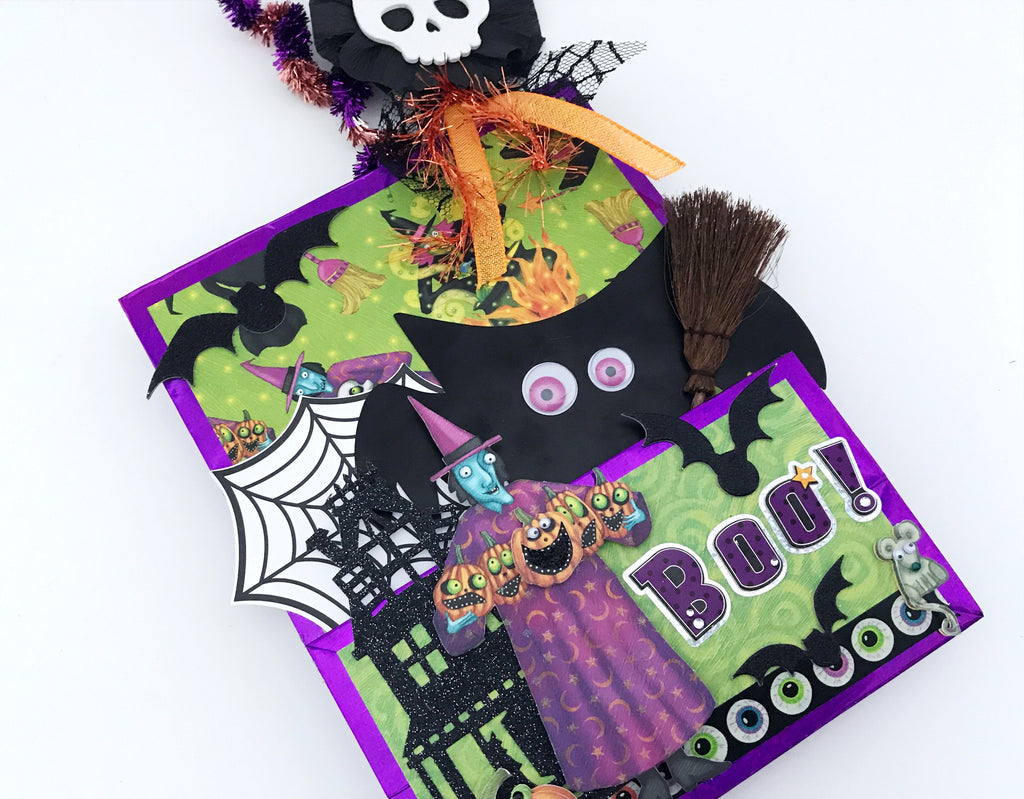
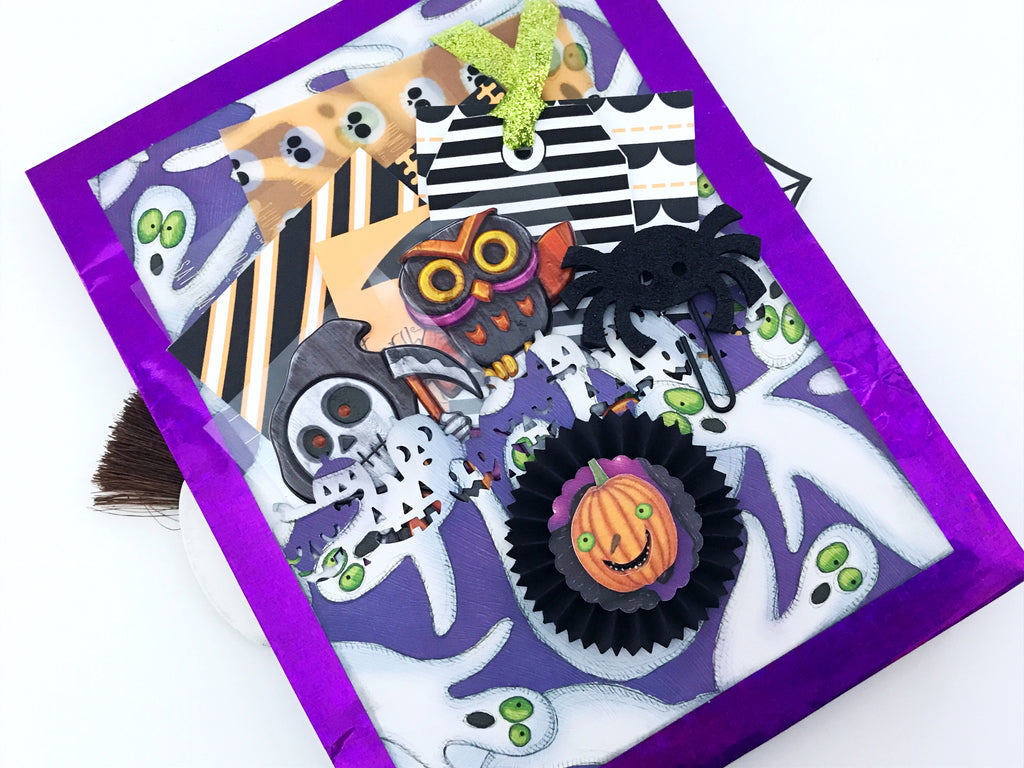
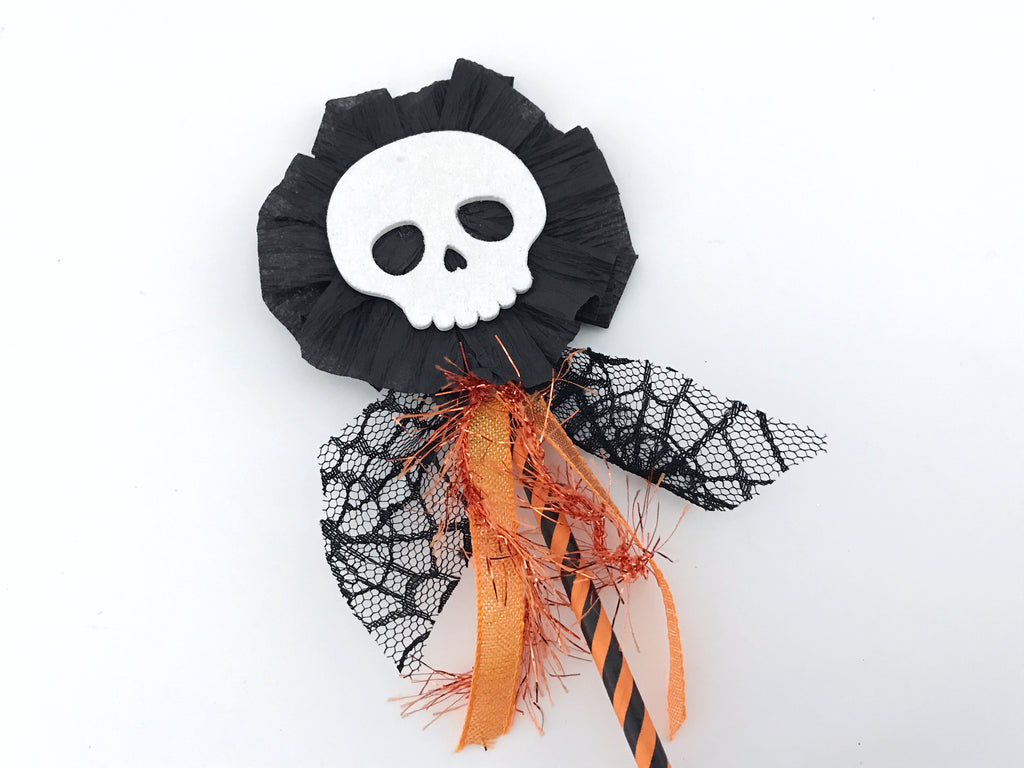
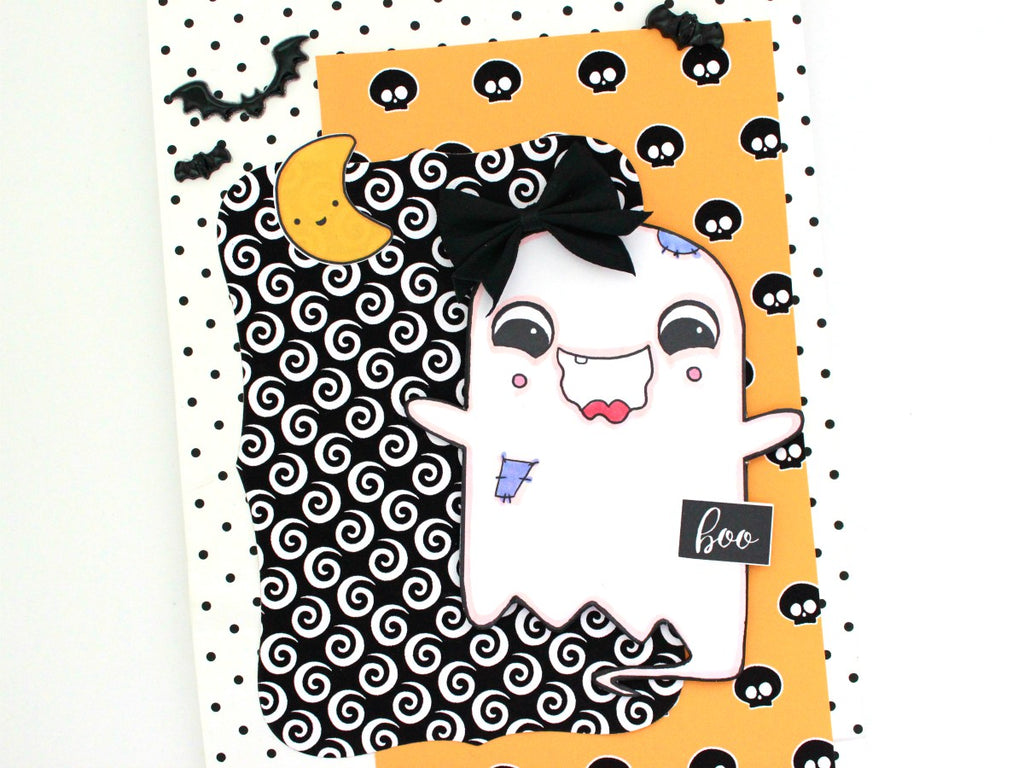
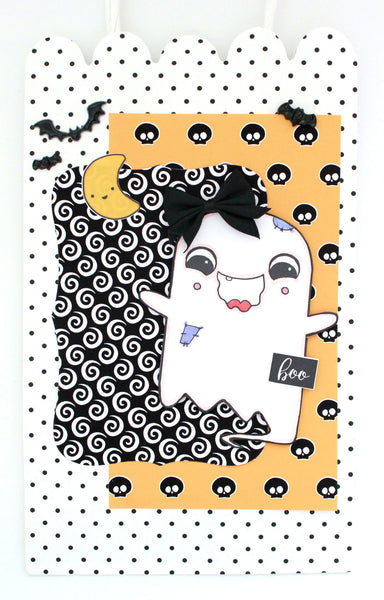
Hello Lovelies! I'm back this week with another episode in my Halloween Happy Mail series. I took last week off to catch up on some work and projects and today I'm excited to share my JUMBO loaded flip bag!!
I used a holographic gift bag found at my local dollar store and I made sure to keep a large border around my pattern paper to showcase the holographic pattern. I didn't want to cover it up because it's the main focus of this bag flip!
You can watch the full tutorial here:
Thanks for stopping by today! Let me know what you think!
Today I will be sharing episode #3 in my Halloween Happy Mail Youtube Series.
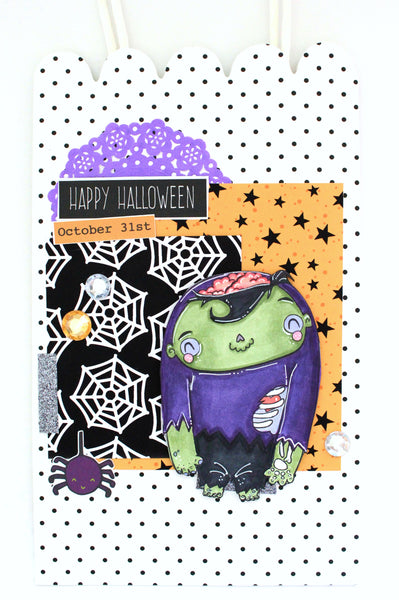
This video is a special collab with MMedel Illustrations for these creepy cute digital stamps.. I used my October Nights and Spooky Pastel Paper Collections to altered these adorable scalloped gift bags. These are perfect for handing out treat to your students or classmates, for trick or treating or to fill up with goodies for your penpals!
Here are some close ups!
Thanks for stopping by! don't forget to check out Papercakes for all Halloween collections!
Welcome to episode #2 in my Halloween Craft Series for 2017!
For today's tutorial I created 4 adorable mini bag flips or as some may call it loaded envelopes. I used my New October Nights Papers for 3 bags as well as some Jeepers Creepers Elements to decorate.
You can watch how I put all 4 bag flips together in this video tutorial! Make sure you scroll down for some close up pictures too!
Which is your favorite bag out of the 4? I really like the October Nights one with the rosette pumpkin and the Spooky Pastel one too!
I'll be sharing a new episode in my Halloween Craft series every Saturday on my youtube channel; make sure you subscribe and click the notification bell so you don't miss out!
Welcome to the first instalment of my Halloween Craft Series for 2017, Episode #1! Woah, that's a mouthful but in all seriousness, i am SOOOO EXCITED to start off my annual craft series early so i can get as many bootiful projects out for your inspiration before Halloween arrives!
Project #1: Spooky Pastel Mini Album
I created this adorable mini album for someone in mind but i can't say right now because i don't want to spoil the surprise. I used a Lori Whitlock cut file from the Silhouette design store to create this mini album. I absolutely love this cut file because you can also make it into a happy mail flipbook and fill it up with goodies for your penpals! I am definitely gonna be making more with this purpose in mind.
Now watch the tutorial to see how I put this Spooky Pastel mini album together:
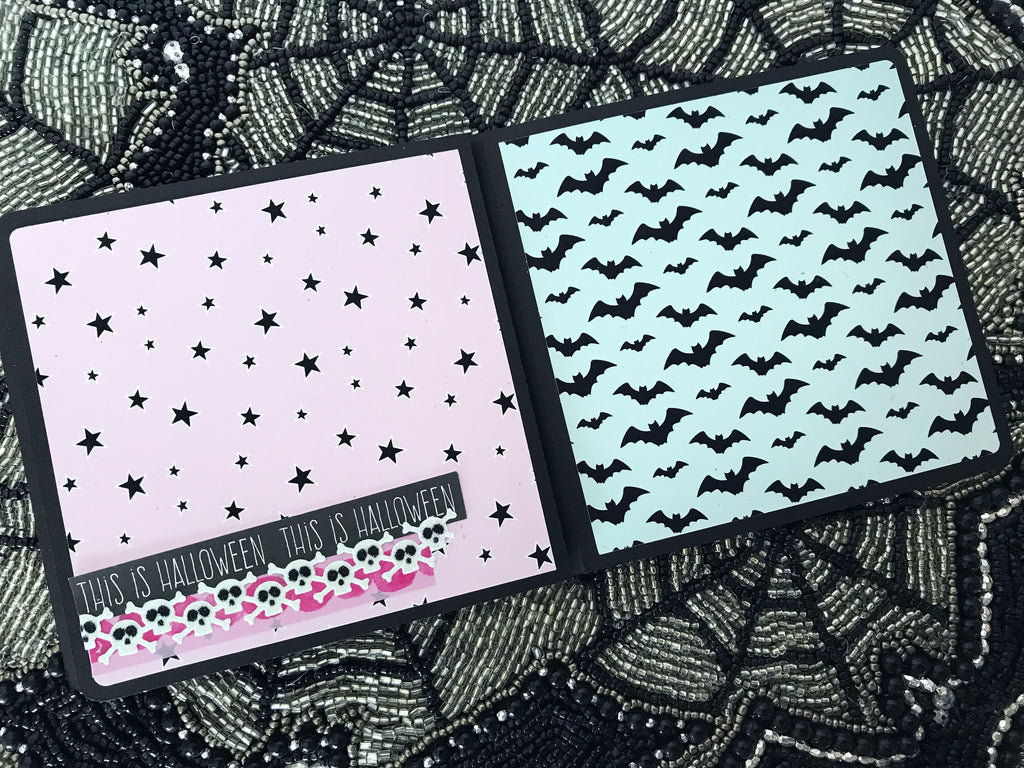
Here is a closer look at each page!
Leave a comment letting me know which is your favorite page?! I love this album so much it's hard to choose!
I'll be sharing a new episode in my Halloween Craft series every Saturday on my youtube channel so make sure you subscribe and click the notification bell so you don't miss out!
well, I know it's been a long time since I posted on here but I've just been super busy with my new company called Papercakes by Serena Bee.
I started brainstorming ideas and designing way back in March 2016 and after 5 months and a half of designing my new collections are finally here!
Papercakes is my online shop for digital printable journaling cards, photopolymer stamps, washi tape, accessories and more! I am so proud and excited to finally chase my dream of becoming a scrapbook designer.
My Spooky Pastel collection is unique, different, and never seen before in the papercrafting industry. I'm super proud of it!! It's inspired by one of my favorite fashion trends-- pastel goth.
My second collection is called October Nights and it features the classic Halloween colors with a modern twist! Inspired by cool, crisp fall nights. My favorite!
Both collections come with over 30 3x4 journaling cards, 12 4x6 cards, and 2 full sheets of tags, labels, stickers and embellishments!
For a detailed, closer look at all that is included in both collections, watch the videos below!
I hope you can check out my new shop Papercakes and support me on my new endeavor!
I post a lot on my Facebook group and Instagram channel so make sure you follow me there to be up to date with all that's happening and for news on my next collections!
Today I am celebrating my favourite holiday with a design team application for Tombow's New DT for 2016. *wish me luck* Today is the last day to enter and if you're interested check out their blog for more info HERE
Here is a little more about me:
My name is Serena Bee I am 27 and I am a Youtube Crafter. (You can view my channel here). I've been crafty full time as I like to call it for the last 5 years and I have loved every minute of it. Crafting is more than just a hobby for me. It's a way of life and I would love to make it my career one day.
PROJECT #1
For my first project I would like to share the pocket letter tutorial I made back in August for my guest design team spot on the Tombow blog! This project showcases some different techniques and projects I enjoy creating. For example, it showcases my skill and love for creating mixed media projects, ATCs, and art journaling through the watercolour backgrounds created. I also used some of my handmade DIY cupcake liner embellishmentsto decorate the middle shaker pocket and also the decorative picks I created using flower and donut dies. I also showcase my coloring of these images.
Moreover, I created my own glitter dots using the Tombow adhesive dots and glitter. I then sealed these dots using the Tombow Mono Aqua liquid glue, which is my favorite go to glue this past year!
I have a step by step video tutorial where I go through how I made this pocket letter from coloring the images using the Tombow Dual Brush Pens- Bright Paletteto the watercolored background using the same pens and the Tombow Blending Kit. Click this video below to watch my tutorial.
Here is a closer look at my layering and DIY cupcake liner embellishment.
PROJECT #2
I am a paper crafter at heart, however, one of my other passions is creating altered projects or easy and affordable DIY home decor projects. For my next project I would like to share a more recent item I made for this Halloween season. I created an altered witch cauldron wall hanging decor piece. Although I used hot glue to adhere most of the floral picks and sprays I did useTombow Mono Aqua liquid glue to adhere all the glitter used on the "smell my feet" sign.
I also have a step by step video tutorial for this project. You can watch it down below.
Basically I started off with trimming the floral picks and sprays down to the size I needed and began adhering them to the back side of the cauldron sign using a hot glue gun.
Once all the picks were secured to the back of the sign, I then began working on the "smell my feet" wood piece. At first I gessoed the wood piece in order to paint it with orange paint. However, I wasn't achieving the look I wanted so I moved on to using an orange Sharpe oil-based paint pen to color the sign. Once that dried, I began adding a layer of glue with theTombow Mono Aqua liquid glueand added fine orange glitter and then later a chunky orange glitter on the top.
Next, it was time to add the second cauldron piece to the backside in order to hide all the glue and picks we adhered down. This gave the sign a more professional and cleaner look and allows you to hang the sign up on the wall if you chose to do so.
Next it was time to decorate the front of the cauldron, I started by adhering a black and white polka dot ribbon with some hot glue. Next I made a bow using the same ribbon and placed that on the left hand side of the cauldron. For a finishing touch, I decided to add a jack-o-lantern resin embellishment piece in the center of the bow. Lastly, it was time to add the last finishing touch, the "smell my feet" piece. Once that was adhered with hot glue the project was complete. This is an easy and quick project anyone could do.
Here is the video:
PROJECT #3
For this last project I want to share a Disney mini album I created. For this album I wanted to do a classic black and white themed album mixed in with pops of colors such as pink, red, and gold.
I just love layering on projects!
This is a paper bag envelope mini album which means there are pockets on the sides with more room for photos and journaling. I also used myTombow Xtreme glueand Tombow Stamp Runner adhesive to adhere down the embellishments and also my Mono Aqua Glue through out this whole album.
I also have a video where I show this album in its entirety. This is the first video share I found on Youtube that shows a paper bag mini made using the Cinch for it's binding. I had plans of having this mini as a tutorial, however, I sadly deleted the footage I had filmed.
There are so many more project I wish to share. I also enjoy creating scrapbook layouts, cards, pages in my Midori travelers notebook, art journaling, DIYs, and so much more! But for now I hope I showcased my range, creativity and style within these 3 projects.
Thank you Tombow for stopping by and checking out my application. Having the chance to be a part of the new 2016 Design Team would mean the world to me. I would love to design some more with your amazing and great quality items. Tombow is already my favorite glue company and it would be amazing to have a chance to support a company I love and help spread the word of Tombow! *hehe* I am ready for this new adventure in my crafty career. My dream is to work in this industry and start my own line. It's the best feeling designing and creating and I hope that I will get a chance to do so for your company. I am ready to share with the world my unique and creative crafty style! So please pick me :)
Thanks again for the opportunity and for your consideration. Good luck to everyone who applied!
Welcome to my 6th project in my Halloween Craft Series 2015!
Today I have easy DIY tips for creating your own party supplies! Now you can throw your handmade DIY Halloween party sponsored by Diemond Dies!
This is a 4 project video, in this video you will learn how to make DIY napkin and utensil holders, decorative paper straws and invitations. The 4th project can be found in this video:
Diemond Dies has offered a to sponsor my giveaway and also included a discount code for you ghoulies! So amazing!!
Use: thanksserena for 10% off your total purchase for all orders over 35$ AND FREE WORLDWIDE SHIPPING!!
The giveaway prize will be a 15$ gift certificate to Diemond Dies.
HERE'S HOW TO ENTER MY GIVEAWAY:
1-MUST be a SUBSCRIBER TO MY CHANNEL
2-LEAVE A COMMENT with your favorite project out of the 4.
The winner will be announced on Halloween day!!
Now let's get into the projects! The first easy halloween party decor time i made are napkin and utensil holders:
This is so simple to make, refer to the video for the tutorial!
My next part supply are decorative paper straws! Now if you're anything like me then you're a sucker for paper straws! I have a ton but never know what to do with them. This easy tutorial is a perfect way to identify which cup belong to which party guests!
Again, see video up above for the tutorial!
And You can't have a party without fun invitations!
I was able to use my Monster Bash Stamp set designed by yours truly! It's the perfect set for any occasion in October from birthday parties to Halloween! You can pick up your set <<HERE>>!!
To see how I created these fun party favor boxes watch the 2nd video posted up above!
Thanks for stopping by! I hope you enjoyed my projects and don't forget to enter my giveaway for an amazing Diemond Dies prize! Also there are 9 more chances of winning another Diemond Dies prize on my Diemond Dies Halloween YT Hop post!